Using Garage Zero
If you completed the installation procedure then the application scripts should run upon a reboot. Once the system is up and running, you should be able to access the WebUI via a browser on your smart phone, tablet or PC device.
Simply navigate to the IP address of your device for example (you can usually find the IP address of your device from looking at your router's configuration/status pages). My router typically assigns IPs with prefixes of 192.168.10.XXX. I'll use examples on my home network here, so you'll see URLs like: http://192.168.10.41 Yours may look different depending on your routers firmware/manufacturer (i.e. 10.10.0.XXX, etc.)
It’s highly recommended to set a static IP for your Pi in your router’s configuration. This will vary from manufacturer to manufacturer and is not covered in this guide. A static IP ensures that you will be able to access your device reliably, without having to check your router for a new IP every so often.
Video Walkthrough
Probably the best way of sharing how to use the web user interface is to share a video of how this works. So please enjoy the following video showing off the general usage and configuration of the Web Application.
WebUI Overview
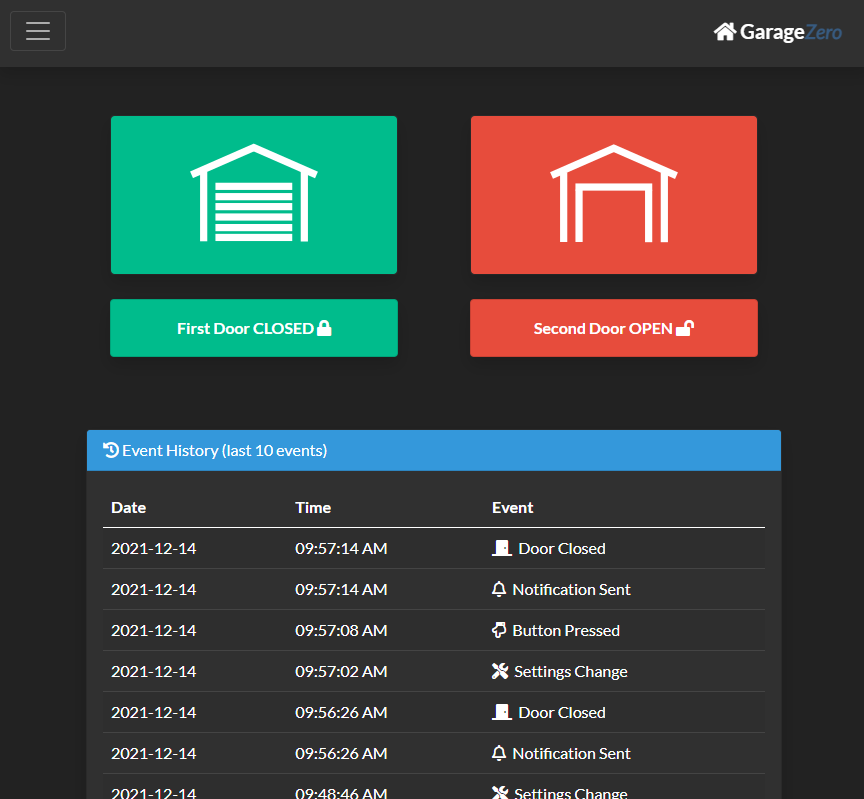
The interface / webui is broken out into three main pages. The Dashboard, Settings and Admin.
The first is the dashboard view where you can check the current status of the garage doors along with a shortened activity log. In this view, you can press the large buttons to open / close the garage doors and check the current status.
Pressing the hamburger icon in the upper left of the interface, allows you to also access to the settings screen. In this screen you can change the web application theme, modify the notification settings, and configure the garage door(s).

Once again pressing the hamburger icon in the upper left of the interface, allows you to choose the admin screen. In this screen you have options to configure security settings (i.e. enable passcode protection, add/delete users/passcodes) and enabling the API (used for Home Assistant, see the Home Assistant section).
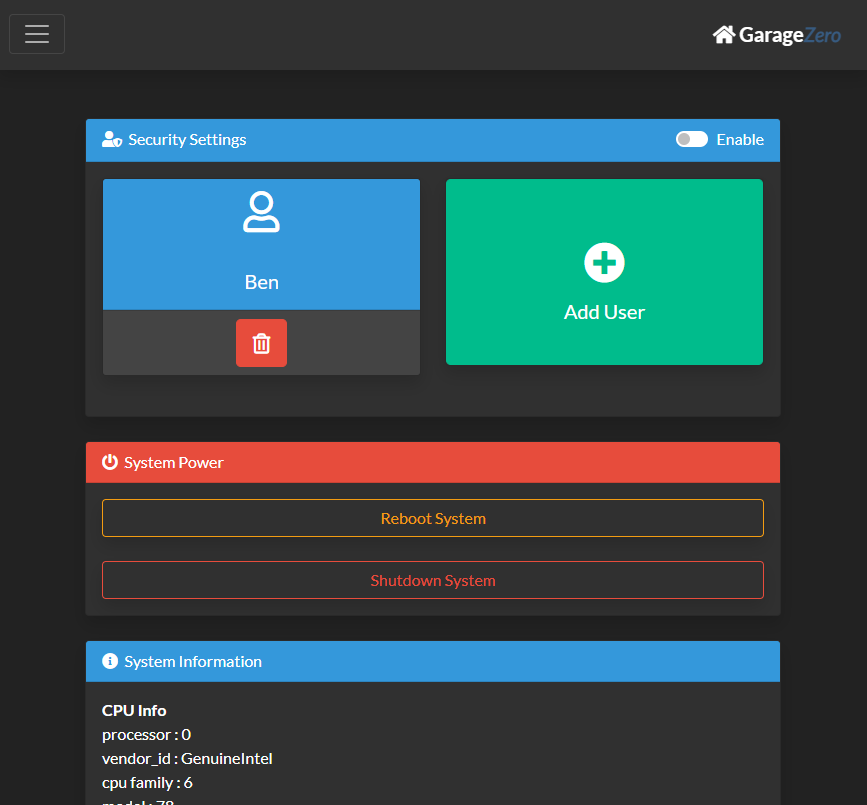
Scrolling down further gives you the option to reboot the system or shutdown the system. Below these controls, you'll see more information about the system hardware, and the uptime.