Software Installation
TL;DR Let's get installing!
If you've already got a clean installation of Raspberry Pi OS Lite (Bullseye, Bookworm or later…) loaded onto your Raspberry Pi Zero W, then simply run the below from an SSH command line on your Pi:
curl https://raw.githubusercontent.com/nebhead/garage-zero-v2/main/auto-install/install.sh | bash
If you need more help getting things setup, follow the instructions below.
Raspberry Pi Zero Setup Headless (from raspberrypi.org)
If you are using the Raspberry Pi Imager, you don't need to follow the below instructions to setup the WiFi, timezone, hostname, etc. You can do all of that from the imager tool. However, if you want to do things more manually or you aren't using the imager tool, then feel free to walk through the instructions below.
Manual Headless Configuration
Once you've burned/etched the Raspbian Stretch Lite image onto the microSD card, connect the card to your working PC and you'll see the card being mounted as "boot". Inside this "boot" directory, you need to make 2 new files. You can create the files using Atom code editor.
-
Step 1: Create an empty file. You can use Notepad on Windows or TextEdit to do so by creating a new file. Just name the file
ssh. Save that empty file and dump it into boot partition (microSD). -
Step 2: Create another file name wpa_supplicant.conf . This time you need to write a few lines of text for this file. For this file, you need to use the FULL VERSION of
wpa_supplicant.conf. Meaning you must have the 3 lines of data namely country, ctrl_interface and update_config
country=US
ctrl_interface=DIR=/var/run/wpa_supplicant GROUP=netdev
update_config=1

network={
    ssid="your_real_wifi_ssid"
    scan_ssid=1
    psk="your_real_password"
    key_mgmt=WPA-PSK
}
Run RasPi-Config
$ ssh pi@192.168.10.xxx

$ sudo raspi-config
In these menus you should setup up the following:
- Set locales
- Set timezone
- Replace Hostname with a unique hostname (‘i.e. garage-zero')
- Change password (IMPORTANT: It is a known security risk to keep the password at default of ‘raspberry')
Finish and reboot.
Automatic Software Installation
After you've done the above steps to configure your Raspberry Pi initially, you will need to log in via SSH and at the command line type the following:
curl https://raw.githubusercontent.com/nebhead/garage-zero-v2/main/auto-install/install.sh | bash
If installing manually, do not use SUDO, as it will cause issues.
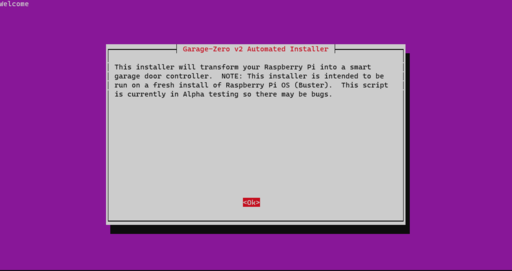
Follow the onscreen prompts to complete the installation.
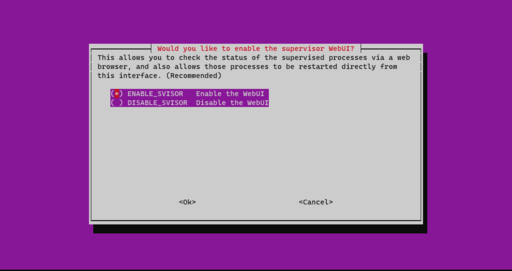
Select wether you would like the supervisor deamon web interface (strongly recommended) and select a username/password.
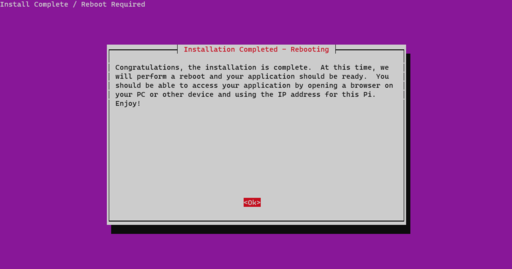
You're finished! Once the system reboots, you should be up and running.